How to Make the Best White Bread from Scratch
Table of Contents
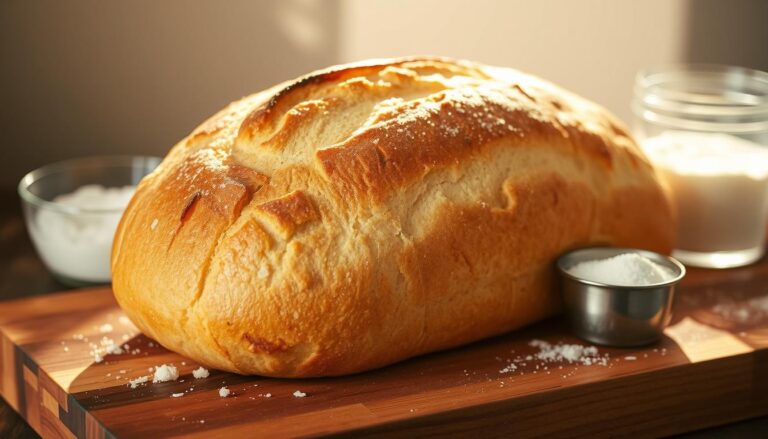
Biting into a freshly baked loaf of homemade white bread is special. The soft texture, the sweetness, and the aroma in your kitchen are unmatched.
Imagine making this deliciousness from scratch. You need just a few simple ingredients and easy steps. Making white bread at home is easier than you think. It’s a healthier alternative to store-bought bread.
In this article, we’ll show you how to make the best homemade white bread from scratch. You’ll learn the benefits of homemade bread and get a simple recipe to follow.
Key Takeaways
- Learn a simple recipe for making homemade white bread from scratch.
- Discover the benefits of baking bread at home.
- Understand the basic ingredients needed for white bread.
- Get tips for achieving the perfect loaf.
- Explore the joy of baking bread for yourself and others.
Understanding the Basics of White Bread
White bread is a staple in many cuisines around the world. It’s made from simple ingredients like flour, water, yeast, salt, and sometimes sugar. But, making it is more complex than it seems.
What is White Bread?
White bread is made from refined flour without the nutrient-rich bran and germ. This leaves mostly starchy endosperm. It has a white color and soft texture. It’s great for sandwiches and toast.
Key Ingredients Explained
The quality of your white bread depends on the ingredients. Here’s what you need:
- Flour: The base of white bread, flour gives it structure. Refined all-purpose flour is common.
- Water: Hydrates the flour and helps form the dough.
- Yeast: Makes the dough rise through fermentation.
- Salt: Adds flavor and controls yeast.
- Sugar (optional): Feeds yeast for fermentation.
The Science Behind Bread Making
Bread making is both a science and an art. It involves mixing, kneading, fermentation, and baking. Yeast fermentation turns sugars into carbon dioxide, making the dough rise. Knowing this and how gluten works is crucial for good white bread.
Essential Tools for Baking White Bread
To make perfect white bread, you need the right tools in your kitchen. Baking white bread from scratch is rewarding. The right equipment makes a big difference.
Must-Have Kitchen Equipment
You’ll need basic kitchen tools to begin. A large mixing bowl is key for mixing ingredients. Also, measuring cups and spoons are crucial for accurate measurements.
A baking sheet or bread stone is needed for baking. You’ll also need a wooden spoon or dough whisk for mixing. A clean surface for kneading is important too. A dough scraper is helpful if you bake often.
| Tool | Purpose | Benefit |
|---|---|---|
| Large Mixing Bowl | Combining ingredients | Easier dough preparation |
| Measuring Cups/Spoons | Accurate measurements | Consistent results |
| Baking Sheet/Bread Stone | Baking bread | Perfect crust formation |
Optional Tools to Enhance Baking
While basic tools are essential, some optional tools can improve your baking. A stand mixer with a dough hook attachment makes mixing and kneading easier.
Other optional tools include a bench scraper for handling dough, a proofing basket for a professional shape, and an oven thermometer for accurate oven temperature.
- Stand Mixer with Dough Hook
- Bench Scraper
- Proofing Basket
- Oven Thermometer
With these essential and optional tools, you’re ready to make the best white bread. Enjoy baking!
Choosing the Right Flour for White Bread
The type of flour you pick is key to making great white bread. Flour is the base of bread, affecting its texture, taste, and nutrition.
When picking flour, you’re deciding between all-purpose flour and bread flour. Knowing the differences between these is crucial for the perfect white bread.
All-Purpose vs. Bread Flour
All-purpose flour and bread flour vary in protein content. All-purpose flour has 10% to 12% protein, making it good for many bakes. Bread flour, with 12% to 14% protein, is best for chewy, robust bread.
Bread flour’s higher protein means a stronger gluten network. This is great for bread that rises a lot and has a chewy texture. But, all-purpose flour can also make excellent white bread, for a softer loaf.
Gluten Levels and Their Importance
Gluten is key in bread making, giving dough elasticity and structure. The gluten level affects the bread’s texture and volume. Higher gluten levels in bread flour help with better rise and crumb.
Knowing gluten’s role is important for adjusting recipes and techniques. For white bread, the right gluten balance is crucial for a tender crumb and perfect crust.
Choosing the right flour and understanding its gluten content can greatly improve your white bread. Try different flours and see how they affect your bread to improve your baking.
The Importance of Yeast in Bread Baking
Yeast is key to making bread rise perfectly. It makes bread light and tasty. Without it, bread would be dense and flat.
Yeast eats sugars and makes carbon dioxide gas. This gas makes dough rise. There are many types of yeast for bread baking, each with its own traits.
Different Types of Yeast
The most common yeast types for bread are:
- Active Dry Yeast: This is the most used yeast at home. It needs to be soaked before use.
- Instant Yeast: Known as rapid rise or bread machine yeast, it’s stronger than active dry. It can be added directly to dry ingredients.
- Fresh Yeast: Also called cake yeast, it’s very perishable. It’s mainly used in professional bakeries.
- Wild Yeast: This is natural yeast that can be made at home. It’s less predictable but can add unique flavors.
How to Activate Yeast Perfectly
Getting yeast to activate right is key for great bread. Here’s how:
- For active dry yeast, mix it with warm water (around 100°F to 110°F) and a bit of sugar. Wait 5-10 minutes until it gets frothy.
- For instant yeast, skip the activation step and mix it with dry ingredients.
Using the right water temperature is crucial. Water that’s too hot can kill yeast. Water that’s too cold won’t activate it well.
When comparing white bread vs wheat bread, yeast type can be the same. But flour and other ingredients differ. Knowing how to use yeast helps bake better bread, whether white or whole wheat.
The white bread benefits include being a good carb source. It can be part of a healthy diet when made with simple ingredients. The key is to grasp the basics of bread baking, including yeast’s role.
Step-by-Step Guide to Making Dough
Making artisan white bread starts with the dough. This involves measuring, mixing, and kneading. It’s a detailed process that needs effort and care.
Measuring Ingredients Accurately
First, you must measure your ingredients precisely. The right mix of flour, yeast, salt, and sugar is key. A digital scale helps ensure accuracy, improving your dough’s quality.
Here’s a simple table for a basic white bread recipe:
| Ingredient | Quantity | Percentage of Flour Weight |
|---|---|---|
| Flour | 500g | 100% |
| Water | 350ml | 70% |
| Yeast | 7g | 1.4% |
| Salt | 10g | 2% |
| Sugar | 5g | 1% |
Mixing Techniques for Best Results
After measuring, mix your ingredients. You can use a stand mixer or mix by hand. For a mixer, add dry ingredients first, then water slowly. For hand mixing, create a well in a bowl and add water gradually.
Kneading: The Art of Developing Gluten
Kneading develops gluten, which shapes your bread’s texture. You can knead by hand or with a mixer. Knead for 10 minutes until the dough is smooth and elastic.
By following these steps, you’ll make a beautiful artisan white bread. It’s sure to impress anyone.
Understanding Dough Fermentation
To make the perfect white bread, knowing about dough fermentation is crucial. This process happens when yeast acts on the dough’s sugars, making carbon dioxide. It makes the dough rise and adds to the bread’s taste and texture.

The Role of Proofing
Proofing is a key part of dough fermentation. It’s when the dough rests and rises, letting yeast work fully. It’s vital for the right texture and volume in your homemade white bread.
Keep the dough warm and away from drafts during proofing. This helps it ferment evenly.
There are two proofing stages. The first is after mixing and kneading. The second is after shaping. Both are important for a light and airy white bread.
Signs Your Dough is Ready
It can be hard to know if your dough is ready. But, look for a few signs. A ready dough will have doubled in size and feel light. It might also have small bubbles on the surface.
Try the poke test: poke the dough gently with your finger. If it springs back slowly, it’s ready. If it springs back fast, it needs more time.
Knowing these signs and being patient will make your white bread better. Proper fermentation leads to a delicious and satisfying loaf.
Shaping Your White Bread
Shaping your white bread is key to making it truly special. It turns your dough into a beautiful loaf or rolls. This step is crucial for a great baking experience.
Common Shaping Techniques
There are many ways to shape your white bread. For a classic loaf, stretch and fold the dough gently. Tuck the edges under for a smooth surface. For rolls, divide the dough into smaller parts and shape each into a ball or oblong.
Using the same shaping method helps your bread look professional. It also ensures even baking.
Tips for Uniformity and Structure
Make sure your dough is the right temperature and consistency before shaping. If it’s too sticky, handling it is hard. If it’s too dry, it won’t hold its shape.
- Use a lightly floured surface to prevent sticking.
- Gently handle the dough to avoid developing too much tension.
- Let the shaped dough rest for a short period before baking to allow the gluten to relax.
By following these tips and practicing, you can make stunning white bread. It will surely impress everyone.
Baking the Perfect Loaf
Now that your dough is ready, it’s time to bake your white bread. This step is crucial for getting the perfect crust and texture. It requires careful attention to temperature and timing.
Preheating Your Oven Correctly
Preheating your oven is more than just setting the temperature. It’s about making sure your oven stays at a stable temperature. Preheat your oven to 375°F (190°C) at least 30 minutes before baking. This helps your bread bake evenly.
Ideal Baking Time and Temperature
The baking time and temperature depend on your oven and loaf size. A standard loaf usually bakes at 375°F (190°C) for 25-40 minutes. Check your bread often towards the end to avoid overcooking. A white bread recipe can give you more specific guidance.
| Loaf Size | Baking Temperature | Baking Time |
|---|---|---|
| Small Loaf | 375°F (190°C) | 25-30 minutes |
| Standard Loaf | 375°F (190°C) | 30-35 minutes |
| Large Loaf | 375°F (190°C) | 35-40 minutes |
How to Check for Doneness
Checking if your bread is done can be tricky. You can check the internal temperature, which should be around 200°F (90°C). Another way is to tap the bottom of the loaf; if it sounds hollow, it’s done. The crust should also be golden-brown.
By following these tips, you can bake a perfectly delicious loaf of white bread. It’s great for sandwiches or just enjoying on its own. Your homemade white bread will be a hit, offering a tasty and nutritious treat that’s good for you.
Cooling and Storing Your White Bread
Keeping your homemade white bread fresh is key. After baking, it’s important to handle it right to keep its quality and texture.
Best Practices for Cooling
To cool your white bread well, put it on a wire rack. This lets air move around it, preventing moisture buildup. Cool bread completely before storing to avoid mold.

How to Store Bread for Freshness
There are a few ways to store white bread. Keep it in a cool, dry place away from sunlight. A bread box or paper bag helps it breathe, keeping it fresh. Don’t store it in the fridge, as it can dry out.
By cooling and storing your white bread correctly, you can enjoy its white bread benefits like freshness and softness for longer.
Troubleshooting Common Baking Issues
Troubleshooting is key for serious bakers. Even with great recipes, problems can pop up. Knowing how to fix these can make your baking better.
What to Do if Your Bread is Too Dense
A dense loaf is a bummer, aiming for something light and fluffy. Overmixing, too much flour, or not enough rising time can cause it. To prevent this, measure ingredients right and don’t overwork the dough.
Flour type also matters. Bread flour, with more protein, can make your bread lighter. If it’s too dense, try bread flour or a high-protein mix.
Solutions for Bread that Won’t Rise
Stuck bread can be a challenge. First, check your yeast’s expiration date. Make sure your ingredients are at the right temperature and you’re using the right yeast amount.
The rising environment is also important. Warmth and a draft-free spot are essential. If it’s cold, use a warm, draft-free area or a proofing box.
Lastly, give your dough enough time to rise. Rushing can lead to bread that doesn’t rise well. By tackling these common problems, you’ll get better at baking white bread.
Creative Variations on Classic White Bread
Make your homemade white bread even better by trying new things. Once you know the basic recipe, you can mix in different ingredients. This will change the taste, texture, and health benefits. We’ll show you some fun ways to change your white bread recipe.
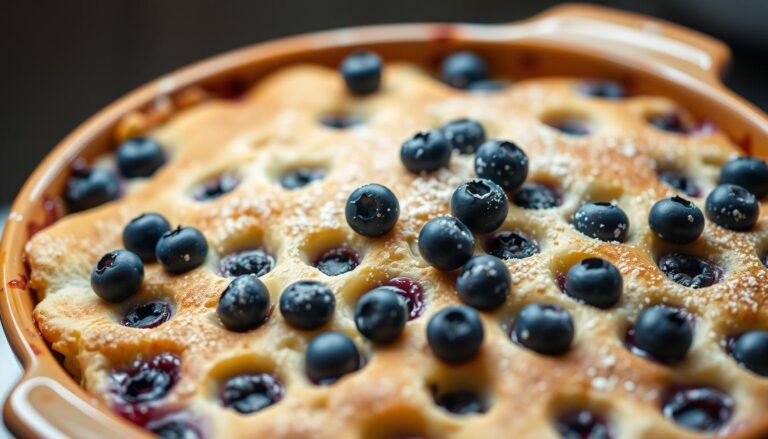
Adding Seeds and Grains
Adding seeds and grains makes your white bread more interesting. Try sesame seeds for a nutty taste or sunflower seeds for crunch. You can also add whole grains like oats or barley for more nutrition.
Here’s a simple table to help you start with some popular seed and grain additions:
| Ingredient | Quantity to Add | Effect on Bread |
|---|---|---|
| Sesame Seeds | 2 tablespoons | Nutty flavor, crunchy texture |
| Sunflower Seeds | 1/4 cup | Crunchy texture, slightly nutty flavor |
| Oats | 1/2 cup rolled oats | Hearty texture, slightly sweet flavor |
Flavor Enhancements for Unique Bread
Try different flavors to make your white bread special. Add herbs like rosemary or thyme for a savory taste. For something sweeter, add dried fruits or honey.
With these creative ideas, you can make a white bread that’s just right for you. Whether you want crunch from seeds or a flavor boost from herbs, there’s a lot you can do.
Enjoying and Serving Your Homemade White Bread
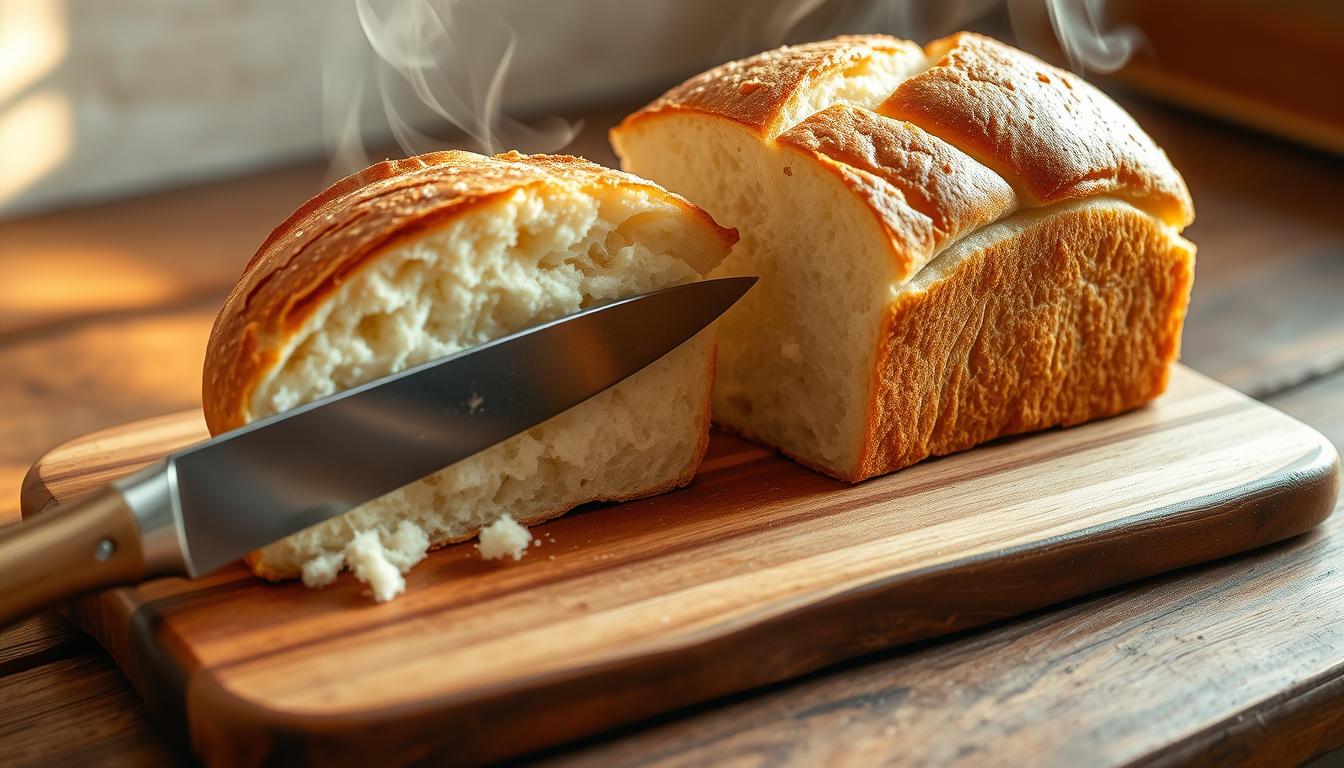
Now that you’ve baked your white bread, it’s time to enjoy it. You can make simple toast or fancy sandwiches. White bread is great in many dishes.
To enjoy your bread, use a sharp knife for clean cuts. You can serve it as is or toast it to enhance its sweetness.
Best Ways to Slice and Serve
Slicing your bread right can improve its look and taste. For sandwiches, make sure the slices are even. You can also cut it into cubes for croutons or tear it for a rustic salad.
Perfect Pairings for White Bread
White bread goes well with many toppings. Try it with peanut butter and jelly or fancy cheeses and meats. It’s also great for French toast or bread pudding.
With your white bread recipe, you can try many things. Experiment with different ways to serve it. Enjoy baking your own delicious white bread at home.
FAQ
What is the best type of flour to use for making white bread?
For white bread, use all-purpose flour or bread flour. Bread flour makes the loaf chewier because it has more protein.
How do I activate yeast for bread making?
Mix yeast with warm water (100°F to 110°F) and a bit of sugar. Wait 5 to 10 minutes for it to get frothy and bubbly. This shows the yeast is working.
What is the ideal temperature for proofing dough?
Proof dough best at 75°F to 80°F (24°C to 27°C). This temperature helps yeast work well and dough rise.
How can I achieve a crispy crust on my white bread?
Bake at 425°F for 15 to 20 minutes first. Then, lower the heat. Baking with steam or on a stone can also help.
Why did my white bread turn out dense?
Dense bread can come from overmixing, not proofing enough, or old yeast. Use fresh yeast, mix gently, and proof well.
Can I add seeds or grains to my white bread recipe?
Yes, adding seeds or grains like sesame or sunflower can improve texture and nutrition. Just adjust the amount you like.
How should I store homemade white bread to keep it fresh?
Cool bread completely on a wire rack. Store in a paper bag or bread box at room temperature. Don’t refrigerate to avoid drying out.
What are some creative ways to use homemade white bread?
Use homemade white bread for sandwiches, toast, croutons, or bread pudding. Slice thinly for crispy breadsticks or crostini.
How do I know when my white bread is done baking?
Check for a golden crust, a hollow sound when tapped, or an internal temperature of 200°F to 210°F.
Can I make white bread without a stand mixer?
Yes, mix by hand or with a hand mixer. Knead manually for 10 minutes to develop gluten.
What is the difference between artisan white bread and regular white bread?
Artisan bread is made with a rustic, hand-crafted method. It uses longer fermentation and natural yeast for a richer flavor and texture.