
3 Ingredient Artisan Bread (no knead!)
Table of Contents
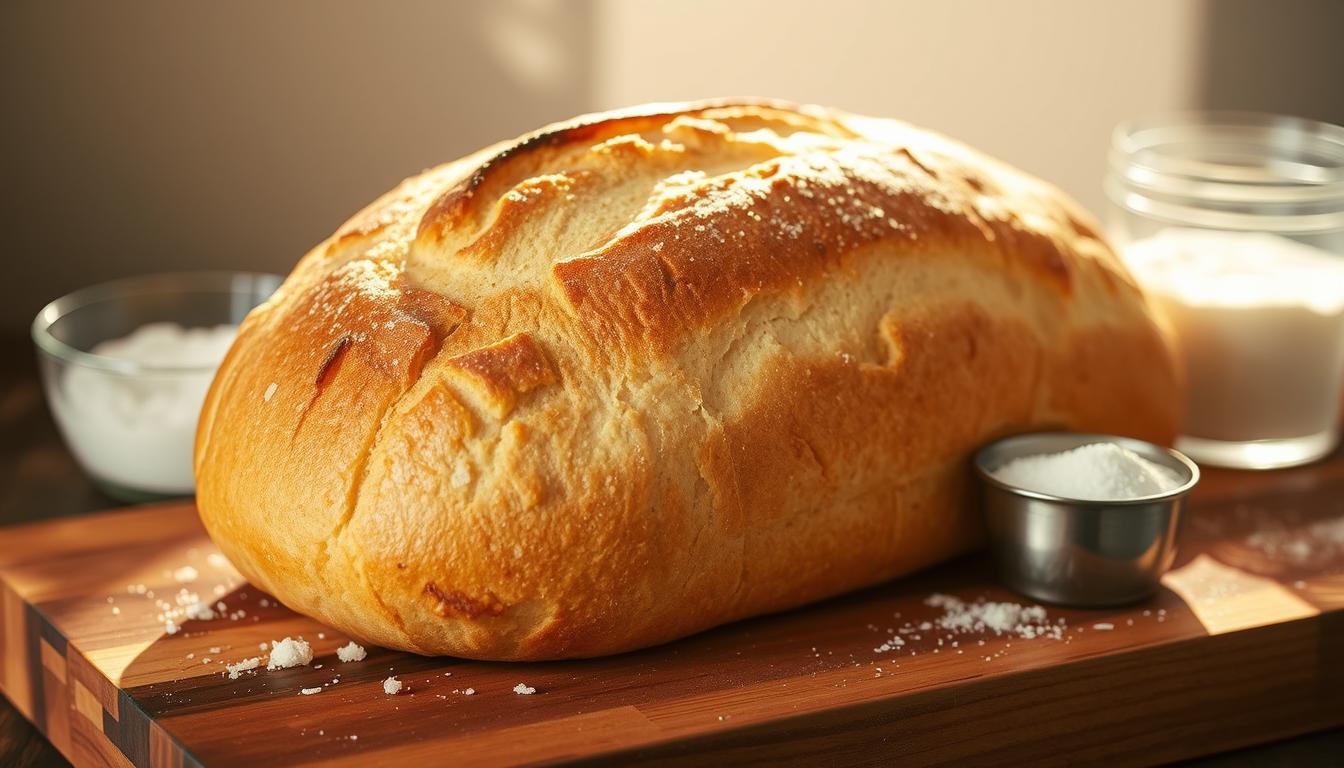
3 Ingredient Artisan Bread (no knead!)
Imagine baking a delicious, crusty artisan bread with just 3 simple ingredients and no kneading required!
This easy-to-make recipe is perfect for beginners who want to try their hand at baking. With just one bowl and a few minutes of preparation, you can have a fresh, homemade loaf in no time.
You’ll love this easiest bread recipe ever because it’s quick, simple, and requires minimal ingredients. It’s a great way to start your baking journey or to add a new recipe to your repertoire.
Key Takeaways
- Simple recipe with just 3 ingredients
- No kneading required
- Perfect for beginners
- Quick and easy to make
- Delicious, crusty homemade loaf
The Magic of Simple Artisan Bread
Artisan bread is loved for its simple ingredients and rich taste. You might be curious about what makes it so special. The answer is the no-knead method, a game-changer in bread making.
This bread’s charm comes from its few ingredients and easy steps. It’s perfect for those new to homemade bread recipes easy to make. The result is a crusty loaf with a soft inside, great for any meal.
Why No-Knead Bread Works So Well
No-knead bread is popular for its simplicity and quality. Skipping kneading lets the dough rest and develop naturally. This results in a richer flavor.
This method uses longer fermentation to build gluten and texture. It’s essential for the bread’s unique taste and feel.
The Science Behind Perfect Crust and Crumb
The science behind no-knead bread is interesting. The long fermentation time develops gluten, flavor, and texture. It creates bubbles for an airy crumb.
The crust gets its golden color and crunch during baking. Knowing the science helps you improve your bread making. You can adjust temperature, fermentation time, and baking to make each loaf special.
What You’ll Need: Ingredients and Equipment
To make your own no-knead artisan bread, you need a few simple things. Making homemade breads is easy and requires just a few ingredients. But, it gives you amazing results.
The 3 Essential Ingredients
The key to a great no-knead artisan bread is its simplicity. It needs only three main ingredients:
- Flour: This is the base of your bread, giving it structure and texture.
- Yeast: It makes your bread rise and adds flavor.
- Salt: This enhances the taste and controls the yeast.
Optional Flavor Enhancers
You can make your bread even tastier with optional ingredients. Try adding:
- Herbs: Fresh or dried herbs like rosemary or thyme can give a unique flavor.
- Cheese: Grated cheese adds a rich, savory taste.
- Olives: Sliced or chopped olives bring a salty, umami flavor.
Recommended Baking Tools
The right tools can greatly improve your bread-making. Here are some tools you should have:
| Tool | Description |
|---|---|
| Large Mixing Bowl | A big bowl for mixing your dough. |
| Dutch Oven or Baking Stone | Key for a perfect crust. |
| Baking Peel or Sheet Pan | For moving your dough to the oven. |
Making bread easy means having the right ingredients and tools. With these, you’re ready to make delicious homemade breads.

Step-by-Step Artisan Bread Preparation
Making artisan bread at home is easier than you think. It starts with a simple mixture. With just a few ingredients and patience, you can make a delicious loaf for any occasion.
Mixing Your Dough (No Kneading Required!)
To mix the dough, combine your ingredients in a bowl and stir until they form a shaggy mass. This initial mixture is crucial for the bread’s texture and flavor. You don’t need a bread machine to make great bread; a simple bowl and spoon will do. The mixture will be quite wet and sticky, but don’t worry – this is normal for no-knead bread recipes.
The Long Rest: Fermentation Process
After mixing, your dough will undergo a long fermentation process. This step is where the magic happens. The yeast ferments the sugars in the dough, producing carbon dioxide and developing the gluten. The result is a bread with a complex flavor and a tender crumb. Let your dough rest for at least 12-24 hours in a cool, draft-free place.
Shaping Your Loaf
After the fermentation process, it’s time to shape your loaf. Gently pour the dough onto a floured surface and shape it into a round or oblong loaf. You can create a more rustic look by handling the dough minimally, or you can shape it more neatly for a professional appearance.
Common Shaping Mistakes to Avoid
- Overworking the dough, which can lead to a dense loaf.
- Not using enough flour on your surface, causing the dough to stick.
- Shaping the loaf too tightly, which can prevent it from rising properly.
Creating That Professional Look
To give your loaf a professional finish, try using a bench scraper to gently lift and shape the dough. You can also use a basket or a linen cloth to support the loaf as it rises, giving it a more artisanal appearance. While techniques like making cloud bread might require special handling, your standard artisan bread can benefit from these simple shaping tips.
By following these steps, you’ll be well on your way to creating delicious, crusty artisan bread at home. Whether you’re a seasoned baker or just starting out, the process of making bread from scratch can be incredibly rewarding.
Baking Your Perfect Loaf
The moment of truth arrives when you place your artisan bread in the oven. It transforms simple ingredients into a crusty masterpiece. Understanding the baking process is crucial, from preheating to troubleshooting common issues.
Preheating and Creating Steam
To bake the perfect loaf, preheat your oven to 450°F. Creating steam is also essential. You can achieve this by placing a pan of water or ice cubes inside the oven. This step helps in creating a crispy crust.
Baking Times and Temperatures
Baking times and temperatures can vary. They depend on your oven and the size of your loaf. Generally, a high temperature with steam yields the best results. Here’s a basic guideline:
| Loaf Size | Baking Temperature | Baking Time |
|---|---|---|
| Small Loaf | 450°F | 25-30 minutes |
| Large Loaf | 450°F | 35-40 minutes |
How to Tell When Your Bread is Done
Your bread is done when it sounds hollow upon tapping the bottom. The crust should be golden brown. The internal temperature should reach around 200°F to 210°F.
Troubleshooting Common Baking Issues
If your bread doesn’t turn out as expected, don’t be discouraged. Common issues like a dense crumb or uneven browning can often be resolved. Adjusting your oven temperature or baking time can help.
For instance, if your bread is browning too quickly, cover it with foil. This prevents over-browning.
A perfectly baked loaf is not just a delight on its own. It’s also a perfect companion to your favorite cozy soups. Experimenting with different artisan bread recipes can lead to discovering your ideal loaf. It’s perfect for dipping into soups or enjoying on its own.
Conclusion: Enjoying Your Homemade Artisan Bread
Now that you’ve baked your no-knead artisan bread, it’s time to enjoy it. This easy homemade bread recipe opens up many culinary doors. You can enjoy it with cozy soups or as a base for tasty sandwiches.
This simple recipe lets you try different flavors and ingredients. You’ll love experimenting and improving your baking skills. Soon, you’ll want to try even more easy homemade bread recipes.
So, slice your bread and enjoy the joy of making something special. Your homemade artisan bread will become a favorite in your kitchen. With practice, you’ll be baking like a pro in no time.
FAQ
What is no-knead artisan bread?
No-knead artisan bread is made without kneading. The dough rests for a long time. This develops the gluten, giving the bread its texture and flavor.
Is no-knead artisan bread easy to make?
Yes, it’s one of the easiest bread recipes. It needs just a few ingredients and little effort. It’s great for beginners.
Can I customize the flavor of my no-knead artisan bread?
Yes, you can add herbs, spices, or nuts for flavor. You can also try different flours for unique tastes.
Do I need a bread machine to make no-knead artisan bread?
No, you don’t need a bread machine. No-knead bread is made by hand.
How do I achieve a crispy crust on my no-knead artisan bread?
Preheat your oven right and create steam while baking. This will give you a crunchy crust and soft inside.
Can I serve no-knead artisan bread with cozy soups?
Yes, it’s perfect with cozy soups. Its crusty texture and flavor complement a warm soup well.
How do I store leftover no-knead artisan bread?
Wrap it in a paper bag or cloth and keep it at room temperature for up to 3 days. You can also freeze it for longer.
Is no-knead artisan bread a good recipe for beginners?
Yes, it’s great for beginners. It’s easy, needs minimal ingredients, and is forgiving. It’s perfect for those new to bread making.